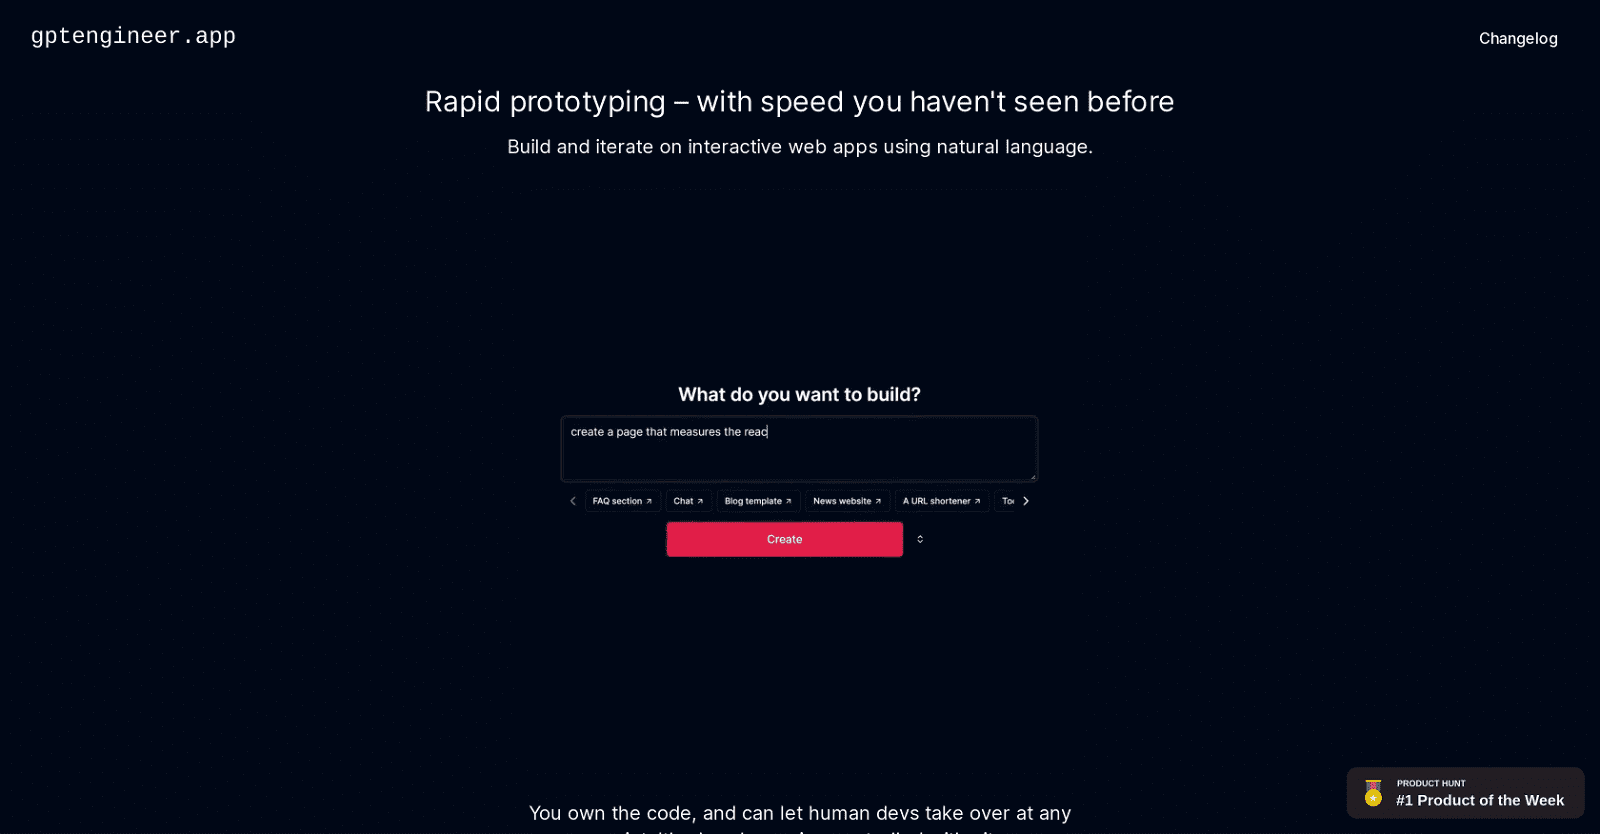
GPT Engineer is an AI-powered tool designed to streamline the process of creating web applications. With a primary focus on rapid prototyping, this tool harnesses natural language processing to construct and iterate on interactive web apps.
Users can simply provide instructions to the system using English language commands, and it will translate these directives into code, significantly expediting the prototyping process.
Moreover, GPT Engineer incorporates essential features for software development and maintenance, such as deployment, hosting, and version control. It leverages version control with Git, offering developers flexibility and security as they work on their projects.
Users retain ownership of their code, giving them the freedom to involve human developers to continue, modify, or complete the project at any stage. Additionally, GPT Engineer aligns with the open-source community, fostering collaboration, learning, and adaptations based on user feedback and requirements.
The platform also includes a community engagement feature via Discord, enabling users to explore what others are building, thereby promoting collaboration and knowledge sharing.
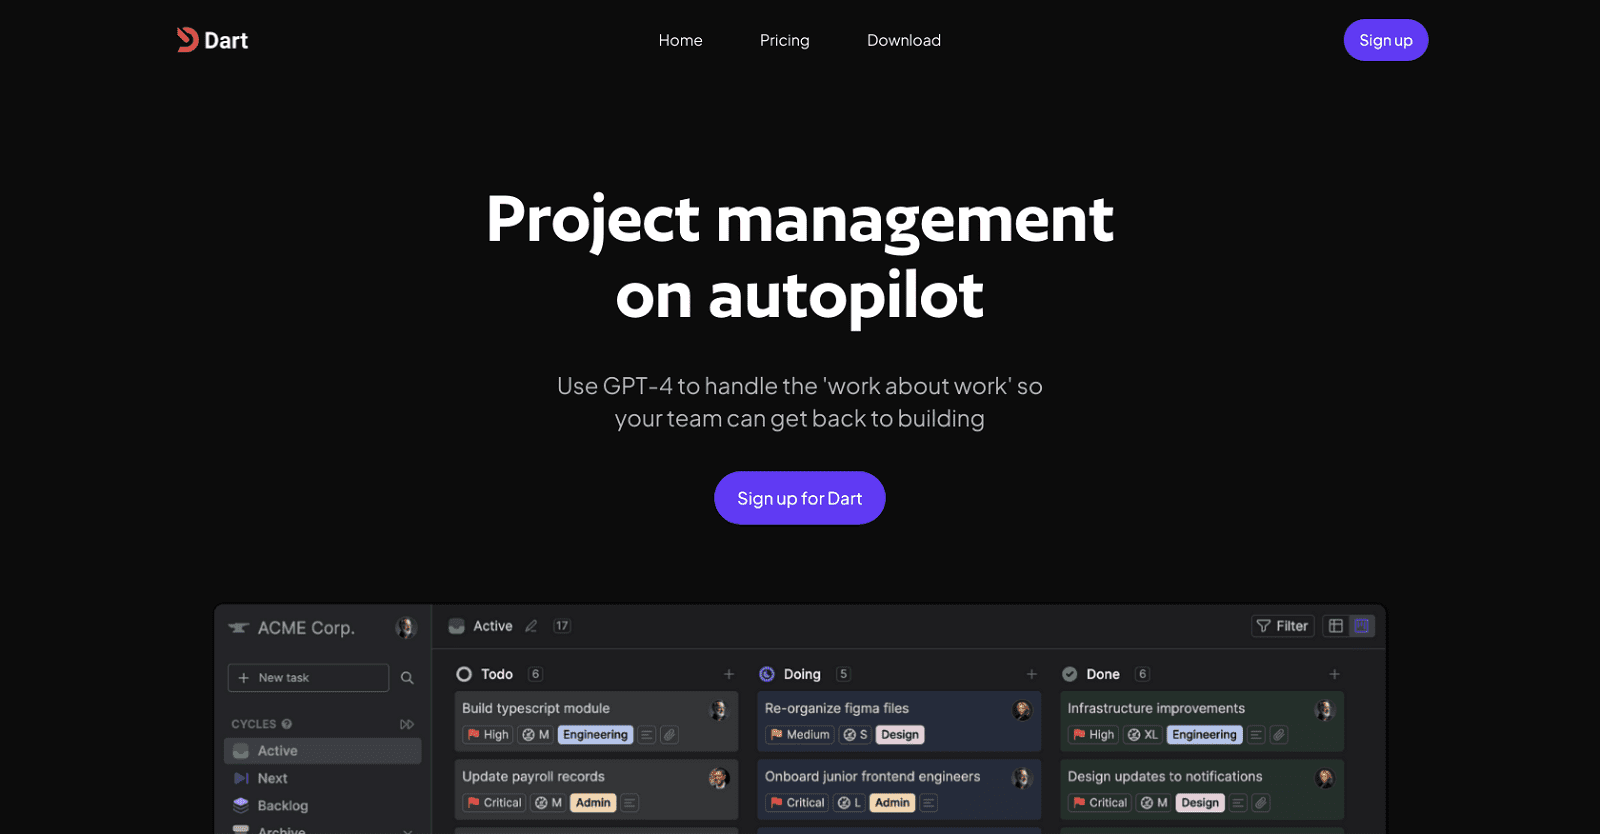
Dart, an AI-driven project management tool, streamlines and automates task and project management. Utilizing GPT-4 technology, teams can save significant time on administrative tasks, allowing…
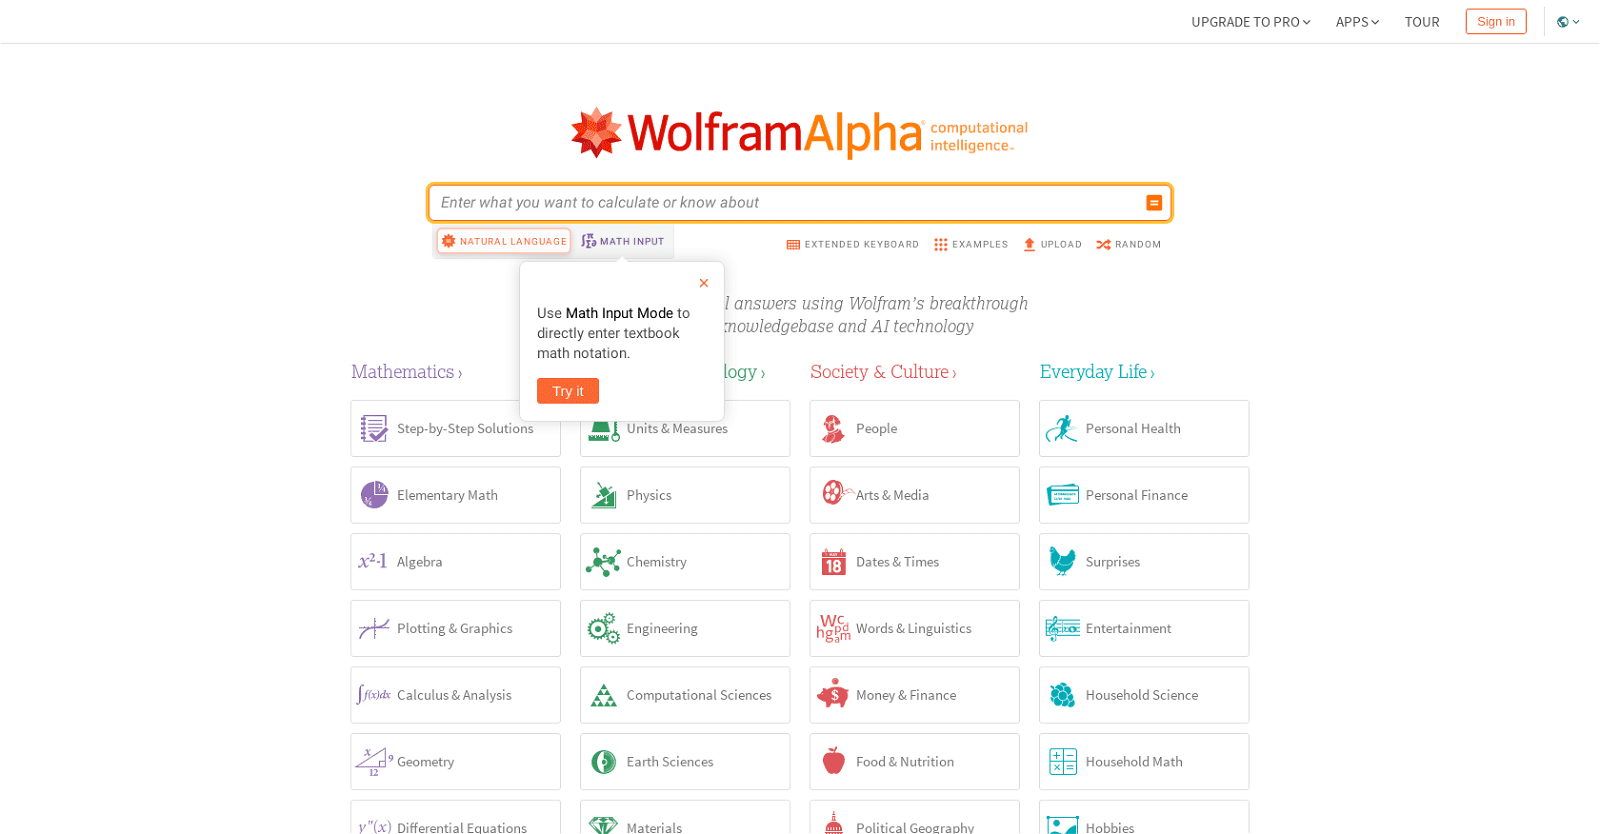
Wolfram|Alpha is a computational intelligence tool that provides users with answers to queries and calculations. It uses Wolfram’s proprietary knowledgebase and AI technology to provide…
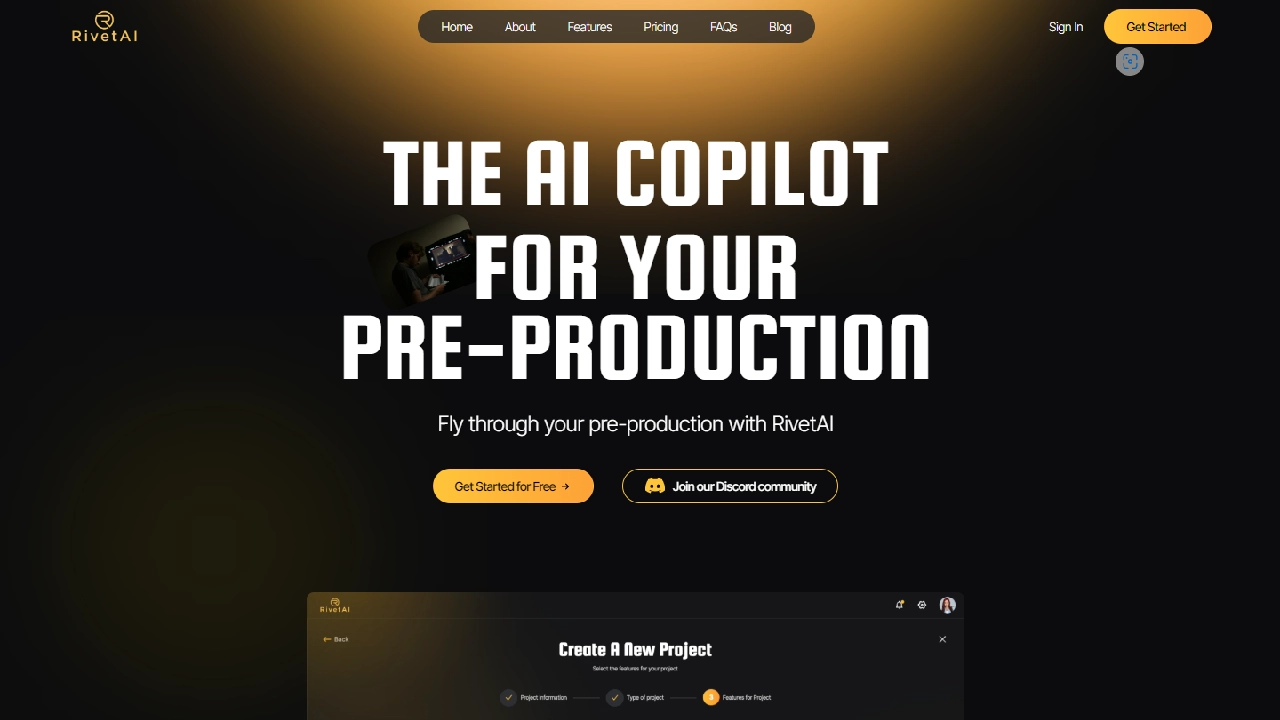
Rivet AI is an AI-powered workflow platform designed to streamline the pre-production process for writers, producers, and directors. It offers a range of advanced features…
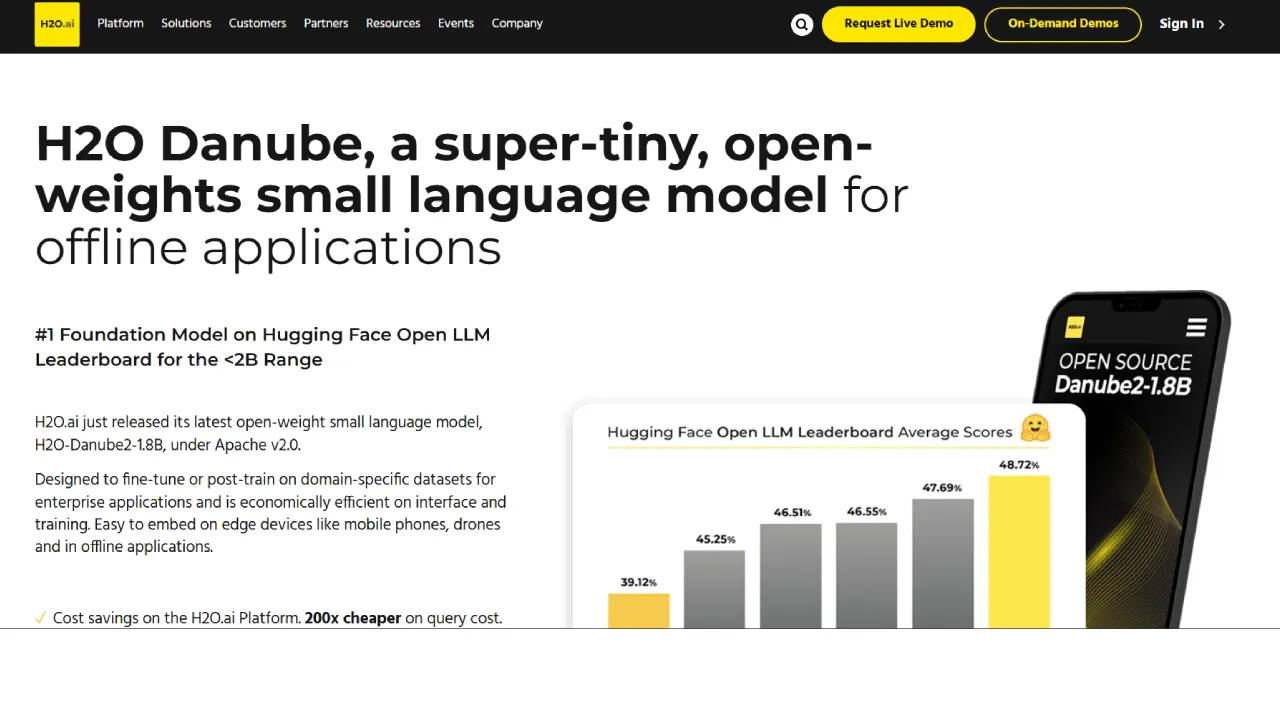
H2O AI is an advanced AI Cloud Platform designed to facilitate the development, operation, and innovation of AI in any environment. It provides a suite…
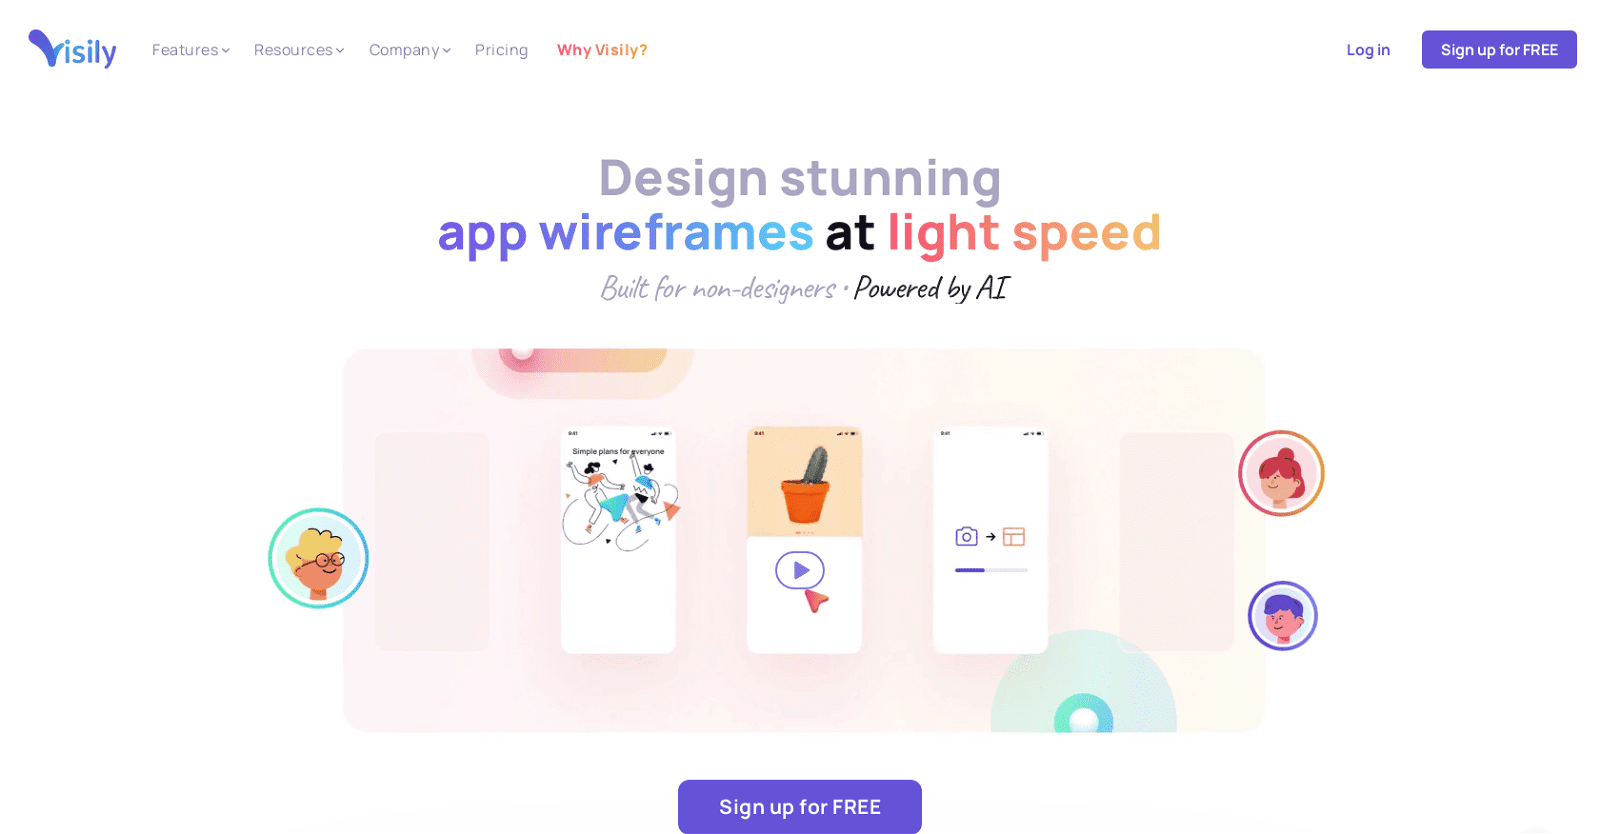
Visily is a versatile tool for teams and individuals looking to streamline the design process. Its AI-driven features, such as Screenshot to Design, Text to…
EmailWritr is an AI-powered tool designed to help users create high-converting email sequences. With EmailWritr, users can effortlessly craft powerful emails that result in more…
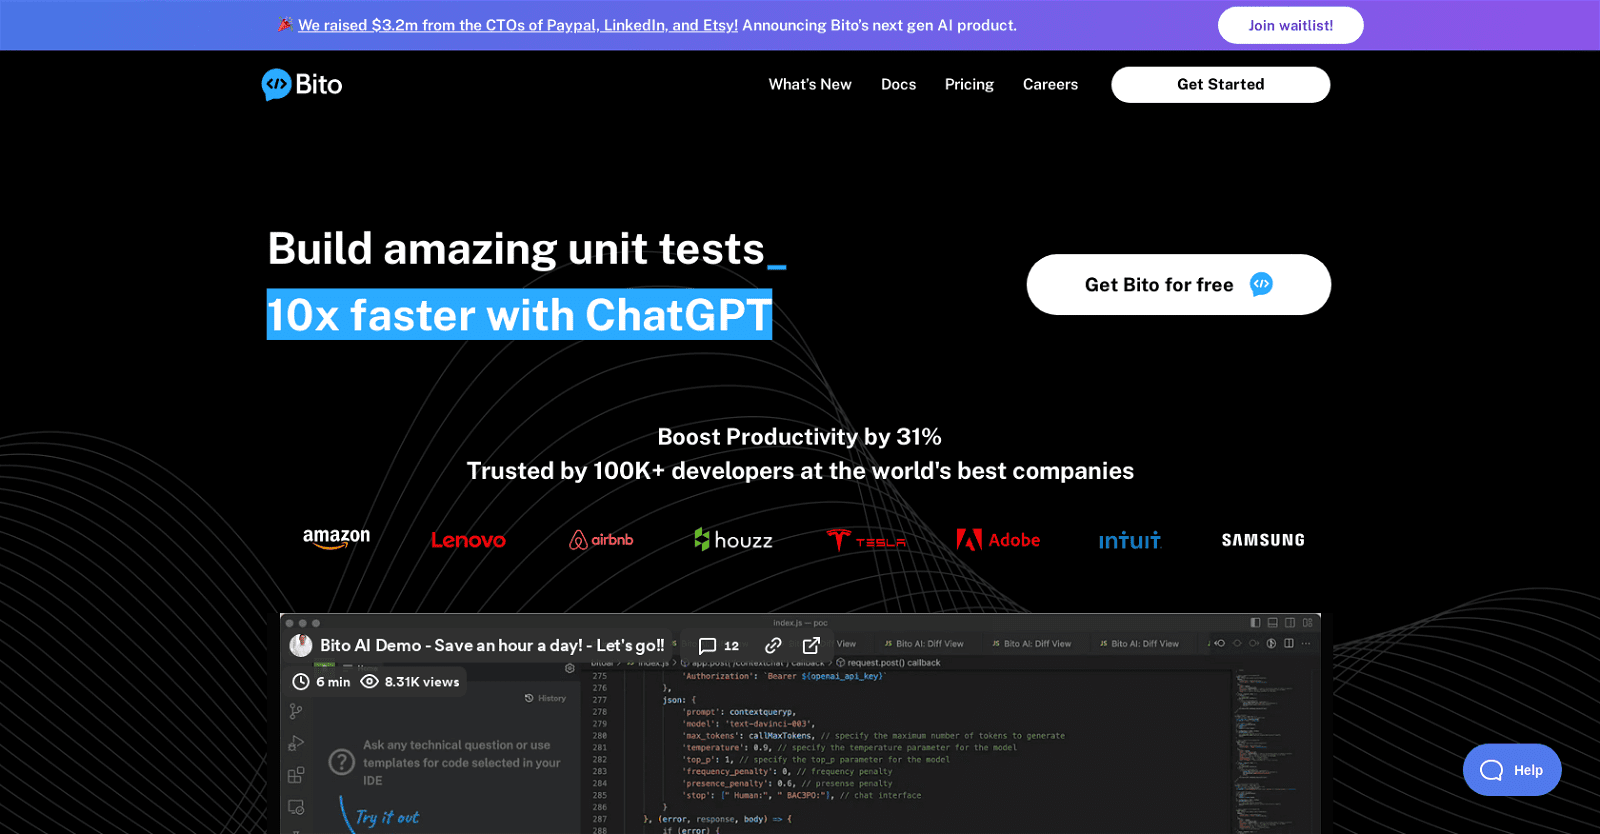
Bito is an AI-powered code assistant that helps developers automate mundane tasks and generate amazing code 10x faster. It uses the same AI as ChatGPT,…